
This section enables users to define and configure automatic system-generated alerts based on specific triggers. Each input field and configuration option plays a crucial role in setting when, how, and to whom the notification will be sent.
How to Access the Create Notification Screen
You can access the form via:
- Option 1: Top menu → Notifications → Create Notification
- Option 2: Click the purple + New Notification button on the Notifications page
Section-by-Section Breakdown
1. Identifiers

|
Field
|
Purpose
|
|
Name
|
A unique title for the notification. This is what appears in the main list.
|
|
Description
|
A short summary explaining what the notification is for. Optional, but useful for internal reference.
|
2. When should this notification take effect?
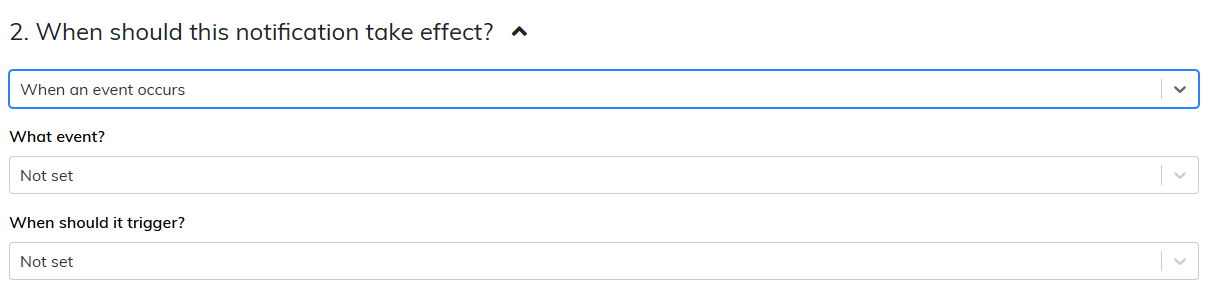
This section determines the trigger condition for the notification.
|
Option
|
Details
|
|
Trigger Type
|
Dropdown to select either “When an event occurs” or “When someone takes an action”.
|
|
If Event is selected
|
A second dropdown will appear with options like:- Due Date- Loan goes into late- Client birthday- Policy end date- Removal of NOC
|
|
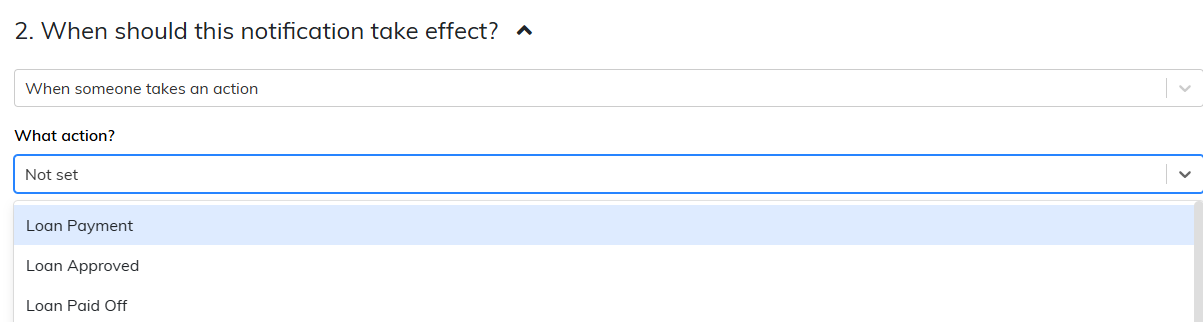
If Action is selected
|
You will instead see options like:- Loan Payment- Loan Disbursed- Loan Written-off- Loan Approved
|
3. What hour of day should this notification be sent?
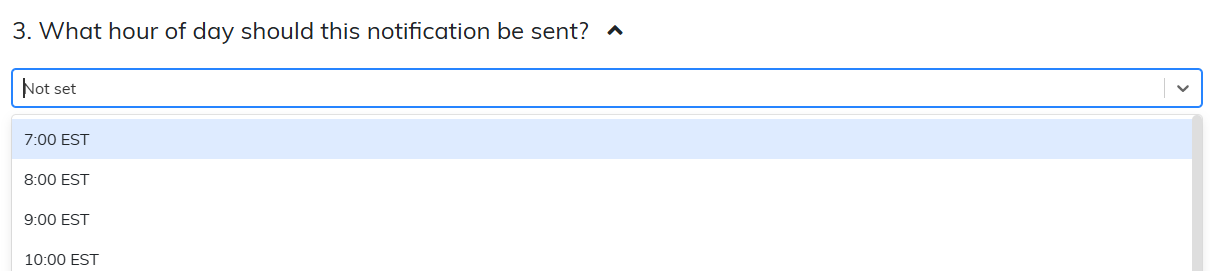
Allows you to define the time (hour) when the notification should be delivered.
|
Dropdown Options
|
7:00 AM EST – 10:00 PM EST, in hourly intervals
|
Choose a time slot when you want the notification to be dispatched.
4. What should block this notification from going out?

This section is used to set conditions under which the notification must not be sent.
|
Functionality
|
Purpose
|
|
Add Condition (green "+")
|
Define filters or flags to prevent duplicate or irrelevant notifications
|
Example: You can block a notification from being sent if the user has already taken action or received a related notification.
5. (Optional) Repeated Notification Settings
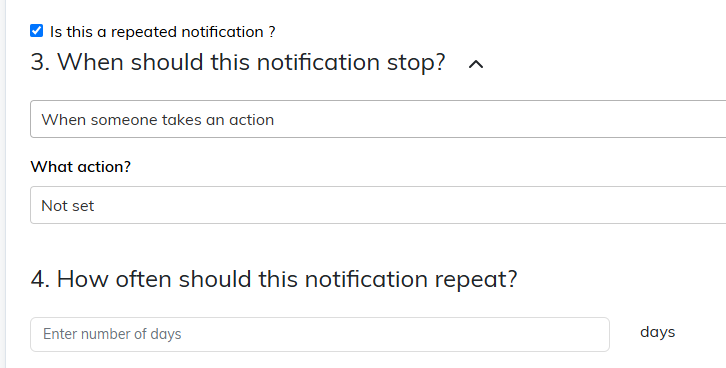
Ticking the “Is this a repeated notification?” box opens additional options:
|
Field
|
Description
|
|
When should this notification stop?
|
Set a final date or condition that stops the repeat cycle:
When an event occurs/when someone take an action -- Define parameters
|
|
How often should this notification repeat?
|
Specify the interval in days (e.g. every 3 days)
|
Useful for follow-up reminders.
6. Who should get this notification?
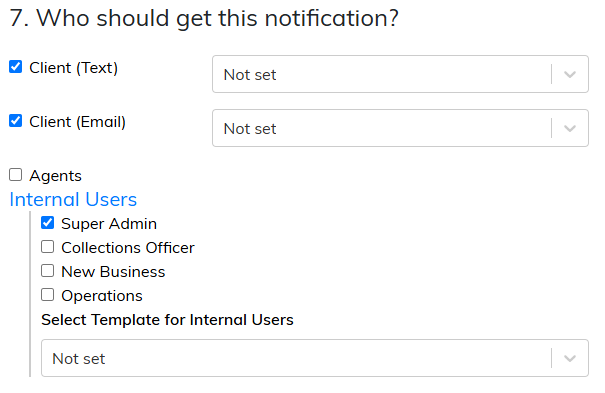
You can target one or more recipient groups:
|
Group
|
Details
|
|
Client (Text)
|
Sends a text (SMS) to clients. Requires selecting a text template.
|
|
Client (Email)
|
Sends an email to clients. Requires selecting an email template.
|
|
Agents
|
Sends to agents. Requires selecting a template for agents.
|
|
Internal Users
|
Sends to specific internal roles. Tick users like:- Super Admin- Collections Officer- New Business- OperationsThen select an appropriate template for internal use.
|
Each group has its own dropdown for selecting a corresponding predefined template.
7. Which loan products use this notification?
Assign the notification to specific loan products.

|
Option
|
Purpose
|
|
Tick the loan products
|
Example: IPF Loan Commercial Test, Personal Auto
|
Only loans matching the selected products will trigger the notification.
8. Save Notification
|
Button
|
Function
|
|
Save
|
Finalises the notification and adds it to the active list
|
How To Guides
1. How to Create a Notification
- Click + New Notification or go to Notifications > Create Notification.
- Fill out the Identifiers section (Name and Description).
- Set when the notification should be triggered (Event or Action).
- Choose what time it should be sent.
- Add any blocking conditions that would prevent it from being sent.
- (Optional) Tick Repeated Notification and configure stop date and frequency.
- Choose the target audience:
- Tick the appropriate recipient types (Client, Agent, Internal).
- For each, select a template from the dropdown.
- Link the notification to the applicable loan products.
- Click Save.
This feature ensures precise delivery of time-sensitive communication tailored to the customer's loan journey or account status.
Comments
0 comments
Please sign in to leave a comment.